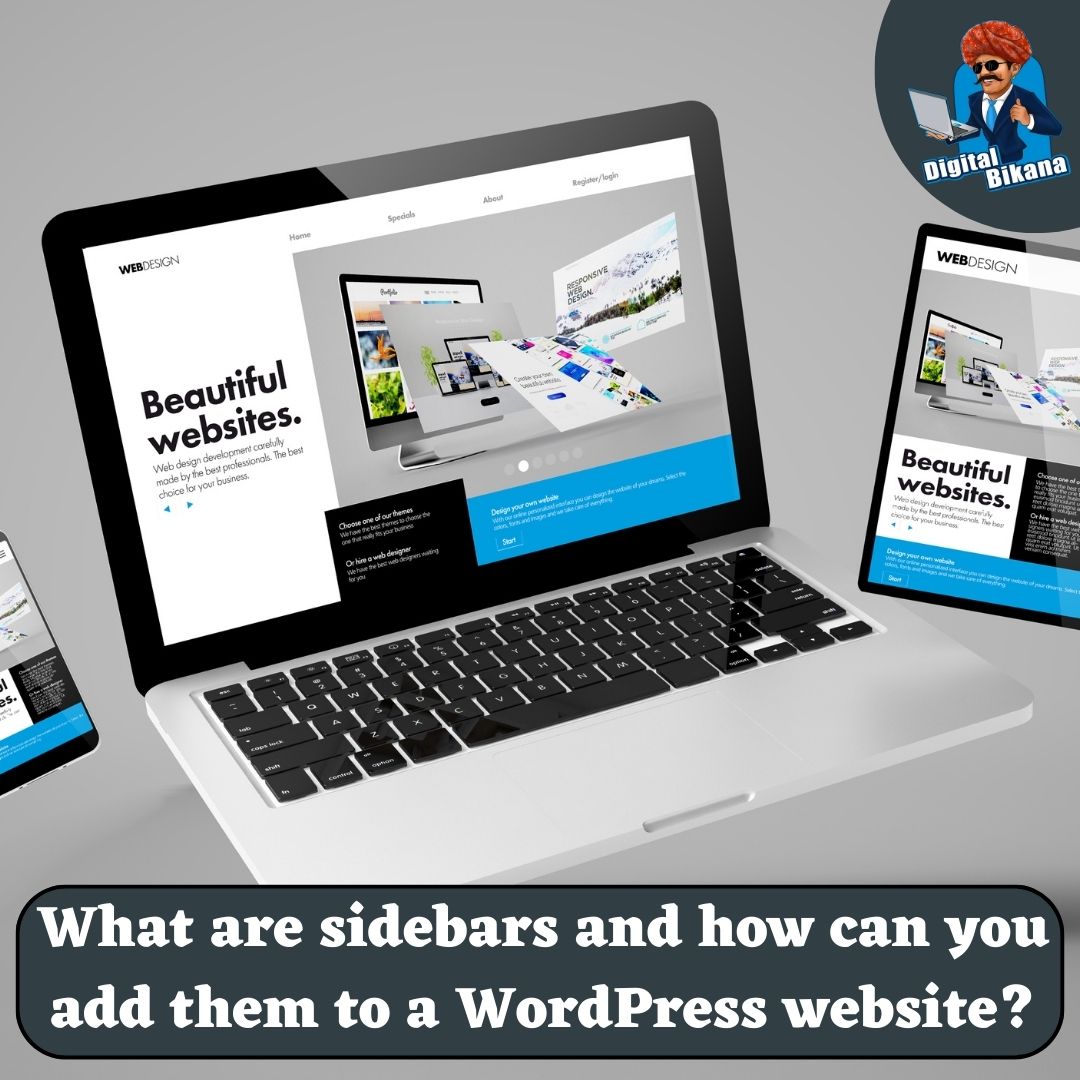
What are sidebars and how can you add them to a WordPress website?
In this article we are going to talk about What are sidebars and how can you add them to a WordPress website? In the world of web design and development, sidebars play an essential role in enhancing the functionality and visual appeal of a website. Whether you want to display additional content, promote specific elements, or provide navigation options, sidebars are a versatile tool that can greatly enhance the user experience.
What are sidebars and how can you add them to a WordPress website?
If you have a WordPress website and want to leverage the power of sidebars, this article will guide you through the process of adding them to your site effectively.
Understanding Sidebars
Before we delve into the process of adding sidebars to a WordPress website, it’s important to understand what they are and how they function. A sidebar is a designated area on a webpage that is typically placed either to the left or right of the main content. It acts as a container for widgets or blocks that display various types of content, such as menus, search bars, recent posts, social media icons, advertisements, or any other customizable element.
Sidebars offer an excellent opportunity to present additional information or provide easy access to specific sections of your website. By utilizing sidebars strategically, you can improve navigation, increase engagement, and drive conversions on your WordPress site.
Adding Sidebars to a WordPress Website
WordPress, known for its user-friendly interface and extensive customization options, makes it relatively easy to add sidebars to your website. Here’s an easy step-by-step guide to get started:
Step 1: Access the WordPress Dashboard
To begin, log in to your WordPress website using your administrator credentials. Once logged in, you will be directed to the WordPress Dashboard, where you can manage various aspects of your site.
Step 2: Navigate to the Appearance Menu
In the WordPress Dashboard, find and click on the “Appearance” menu on the left side. Hover over it to reveal a sub-menu and select “Widgets” from the options.
Read Also: How can you create and manage a menu in WordPress?
Step 3: Explore Available Widgets
Upon selecting “Widgets,” you will be taken to the Widgets screen. This screen displays the available widgets on the left side and the widget areas, including sidebars, on the right side. WordPress provides a range of pre-built widgets, such as text, image, categories, calendar, and more. You can use these widgets to add specific content to your sidebars.
Step 4: Select a Sidebar Area
On the right side of the Widgets screen, you will find various widget areas available for customization. These areas correspond to different sections of your website where you can place sidebars. Common locations include the primary sidebar, footer, and header.
Step 5: Add Widgets to the Sidebar
To add widgets to a sidebar, simply drag and drop them from the available widgets section (left side) to the desired sidebar area (right side). You can also click on a widget and choose the sidebar area from the drop-down menu under the “Add Widget” button. Once added, you can customize the widget settings according to your preferences.
Step 6: Customize Widget Settings
Each widget comes with its own set of customization options. To access these options, click on the widget within the sidebar area. Depending on the widget, you may be able to edit titles, add content, adjust settings, or configure display options. Take the time to explore these settings and make adjustments to suit your needs.
Step 7: Rearrange Widgets
WordPress allows you to rearrange the order of widgets within a sidebar area. To do this, simply click and drag a widget to a different position within the sidebar. Rearranging widgets can help you optimize the visual hierarchy and prioritize important content.
Read Also: What are widgets and how can you use them in WordPress website designing?
Step 8: Save Changes and Preview
Once you have added and customized your widgets, click on the “Save” or “Update” button to save your changes. After saving, you can preview your website to see how the sidebars and widgets appear in action. Use the preview feature to fine-tune your design and make any necessary adjustments.
Step 9: Explore Additional Customization Options
WordPress offers a wide range of themes and plugins that provide additional sidebar customization options. Themes often include multiple sidebar layouts, allowing you to choose different configurations for different sections of your website. Additionally, plugins can offer advanced widget functionality, such as displaying different sidebars on specific pages or integrating with external services.
Read Also: How can you create a custom homepage in WordPress?
Best Practices for Utilizing Sidebars
Now that you know how to add sidebars to your WordPress website, it’s important to follow some best practices to maximize their effectiveness:
1. Keep it Simple
Avoid overcrowding your sidebars with too many widgets. Focus on displaying essential information and minimize clutter.
2. Prioritize Relevance
Place widgets in sidebars that are relevant to the content on the page. For example, display category-specific widgets on blog posts or product-related widgets on e-commerce pages.
3. Test Responsiveness
Ensure your sidebars and widgets are responsive and display properly on various devices, including mobile phones and tablets.

4. Track Performance
Use analytics tools to monitor the performance of your sidebars. Analyze user engagement, click-through rates, and conversions to optimize their effectiveness.
5. Regularly Update Content
Keep your sidebars fresh and up-to-date by regularly updating the widgets and content they display. Remove outdated information and replace it with relevant, timely content.
By following these best practices, you can harness the power of sidebars to enhance user experience, provide valuable information, and drive desired actions on your WordPress website.

Conclusion
sidebars are a versatile tool that can greatly enhance the functionality and visual appeal of your WordPress website. By adding and customizing sidebars effectively, you can provide additional content, improve navigation, and promote specific elements to engage your audience and achieve your website’s goals. With WordPress’s user-friendly interface and extensive widget options, incorporating sidebars into your site is a straightforward process that can significantly enhance the user experience. So go ahead and start leveraging the power of sidebars to take your WordPress website to the next level.
You can also checkout this website designing institute to learn digital marketing course by enrolling in our course Or Contact Digital Bikana on +91-8949483728