What are custom post types in WordPress and how can you create them?
In this article we are going to talk about What custom post types in WordPress and how can you create them? WordPress, the popular content management system (CMS), offers a wide range of features and functionalities to create dynamic websites. One such powerful feature is custom post types, which allows you to extend the default post and page functionality and create new content types tailored to your specific needs.
What are custom post types in WordPress and how can you create them?
In this article, we will explore what custom post types are and delve into the process of creating them in WordPress.
Understanding Custom Post Types
By default, WordPress provides two primary content types: posts and pages. Posts are typically used for blog entries and are displayed in reverse chronological order on your site’s front page. Pages, on the other hand, are static content like About Us, Contact, or Services pages that don’t change frequently.
However, custom post types offer the flexibility to create additional content types beyond posts and pages. For example, you might want to create a “Portfolio” post type to showcase your work, an “Events” post type to display upcoming events, or a “Testimonials” post type to feature customer feedback. The possibilities are endless.
Custom post types enable you to organize and present your content in a more structured and meaningful way. They provide a way to handle different types of content without resorting to hacks or workarounds. With custom post types, you can define your own labels, taxonomies, and even custom fields to store and display specific information.
Read Also: How to write a Blog post on WordPress website step by step?
Benefits of Custom Post Types
Why should you consider using custom post types in WordPress? Here are some key benefits:
1. Improved Content Organization
Custom post types allow you to categorize and manage your content more efficiently. Instead of having a single “one-size-fits-all” post type, you can create specialized content types that align with the nature of your site.
2. Enhanced User Experience
Custom post types enable you to create tailored editing interfaces for different types of content. This makes it easier for users to enter and manage specific information without unnecessary clutter.
3. Better SEO
Custom post types allow you to optimize your content for search engines more effectively. You can define custom taxonomies and meta information, ensuring that your content is properly indexed and displayed in search results.
4. Flexible Content Display
Custom post types provide the flexibility to design unique templates and layouts for different types of content. You can have dedicated archive pages, single post views, and custom queries to display the content as desired.
Now that we understand the benefits of custom post types, let’s dive into the process of creating them in WordPress.
Creating Custom Post Types
WordPress provides a straightforward way to create custom post types using code. Here are the steps to create a custom post type:
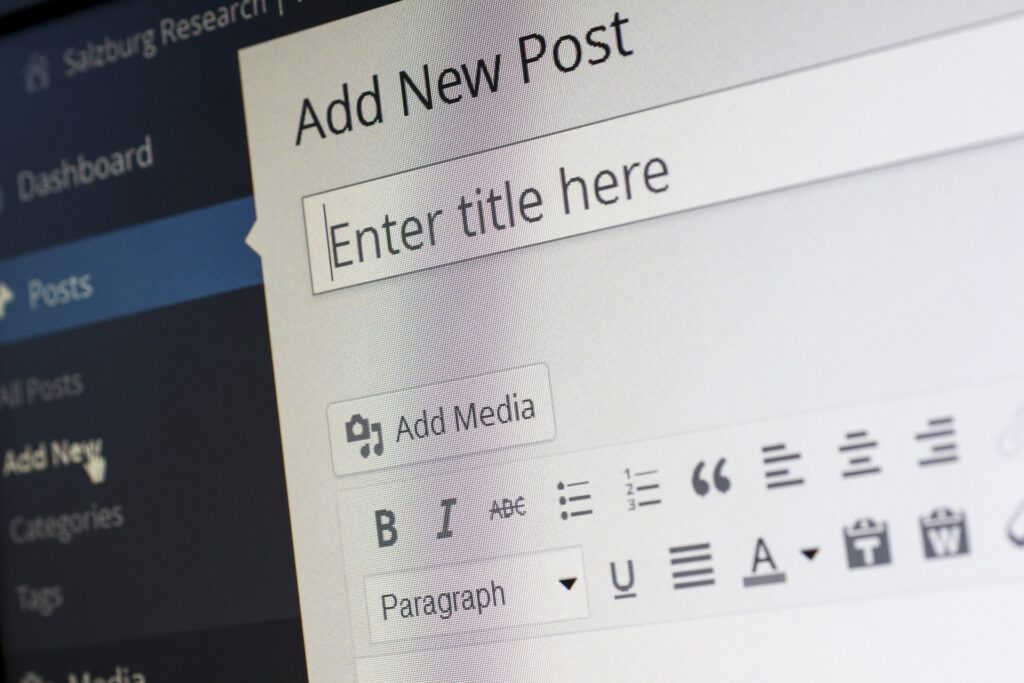
Step 1: Registering the Custom Post Type
To register a custom post type, you need to add code to your theme’s functions.php file or create a custom plugin. The register_post_type() function is used to define the characteristics of your custom post type. Here’s an example:
php
Copy code
function custom_post_type() {
$args = array(
‘public’ => true,
‘label’ => ‘Portfolio’,
// Add more arguments as needed
);
register_post_type( ‘portfolio’, $args );
}
add_action( ‘init’, ‘custom_post_type’ );
In this example, we define a custom post type named “Portfolio” with a public visibility, meaning it will be accessible on the front end of the site. You can customize the labels, arguments, and other parameters based on your requirements.
Read Also: How to install theme in WordPress Website?
Step 2: Configuring Custom Post Type Parameters
The register_post_type() function accepts various arguments to configure the behavior of your custom post type. Some commonly used parameters include:
a. Public
Determines if the post type is publicly accessible.
b. Labels
Allows you to define various labels for your post type, such as singular name, plural name, and menu name.
c. Supports
Specifies the features supported by your custom post type, such as title, editor, thumbnail, etc.
d. Taxonomies
Enables you to assign taxonomies (categories or tags) to your custom post type.
You can refer to the official WordPress documentation for a complete list of available parameters and their usage.

Step 3: Adding Taxonomies and Custom Fields
To further enhance the functionality of your custom post type, you can associate taxonomies and custom fields with it.
Taxonomies are used to categorize and organize your content. WordPress provides built-in taxonomies like categories and tags, but you can also create custom taxonomies specific to your post type. For example, for a “Portfolio” post type, you could create a taxonomy called “Skills” to categorize projects based on the skills required.
Custom fields allow you to add additional metadata to your posts. You can use plugins like Advanced Custom Fields or implement your own custom fields solution to capture and display specific information. For example, for an “Events” post type, you might want to include fields like event date, location, and ticket price.
Step 4: Styling and Displaying Custom Post Types
Once you have created your custom post type, you can customize its appearance on the front end of your website. This involves creating custom templates and designing the layout as per your needs.
WordPress follows a template hierarchy that determines how different types of content are displayed. You can create dedicated template files for your custom post type, such as single-portfolio.php for single posts and archive-portfolio.php for the archive page.
By designing unique templates and using appropriate WordPress functions, you can control how your custom post types are displayed, allowing you to create visually appealing and user-friendly content sections.

Conclusion
Custom post types are a powerful feature in WordPress that allows you to extend the default post and page functionality and create new content types tailored to your specific needs. They offer numerous benefits, such as improved content organization, enhanced user experience, better SEO, and flexible content display.
You can also checkout this digital marketing institute to learn digital marketing course by enrolling in our course Or Contact Digital Bikana on +91-8949483728
Creating custom post types involves registering the post type, configuring its parameters, adding taxonomies and custom fields, and styling and displaying the content. By leveraging the capabilities of custom post types, you can unleash the full potential of WordPress and build websites that truly reflect your unique content requirements. So, Now I hope you have understood about custom post types in WordPress and how can you create them.