
How do you add and manage images in WordPress?
In this article we are going to talk about How do you add and manage images in WordPress. WordPress is a user-friendly and widely used content management system (CMS) that enables effortless website creation and management for users of all levels of expertise.
One of the essential elements of any website is images. They enhance the visual appeal of your content and make it more engaging for visitors.
How do you add and manage images in WordPress?
In this article, we will guide you through the process of adding and managing images in WordPress.
1. Adding Images to the Media Library
The first step in managing images on your WordPress website is to upload them to the Media Library. To do this, log in to your WordPress dashboard and navigate to the “Media” tab. Simply click on “Add New” to easily upload new images from your computer.
You can either drag and drop the images or select them from your files manually. Once the upload is complete, the images will appear in your Media Library.
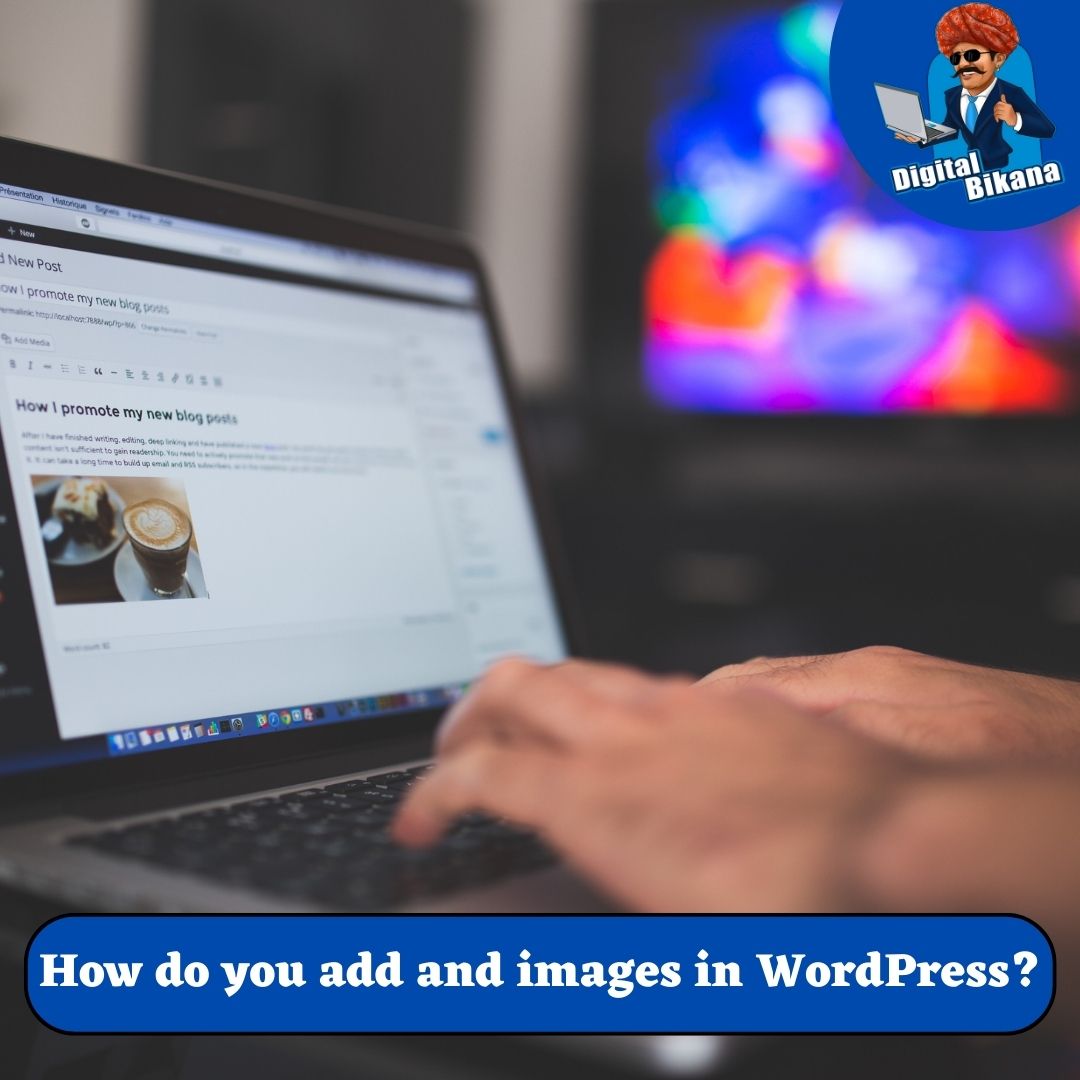
2. Inserting Images into Posts or Pages
Now that your images are in the Media Library, you can easily insert them into your posts or pages. While creating or editing a post or page, place your cursor where you want the image to appear and click on the “Add Media” button located above the editor. This will open the Media Library, where you can select the desired image. After selecting the image, you can customize its settings, such as alignment, size, and caption. Once you’re satisfied with the settings, click on the “Insert into post” button to add the image to your content.
Read Also: How can you create different types of content in WordPress?
3. Editing Images in WordPress
WordPress provides basic image editing capabilities to enhance your images without the need for external software. When you insert an image into a post or page, you can click on it to reveal the editing options. These options include rotating, cropping, scaling, and flipping the image. You can also adjust the image’s alignment and add alternative text (alt text) for accessibility purposes. WordPress saves the edited image as a separate file, ensuring that your original image remains intact.
4. Organizing Images with Media Library
As your website grows, you’ll accumulate a significant number of images. To keep them organized, WordPress offers several features within the Media Library. You can add tags, titles, and descriptions to each image, making it easier to search for specific images later. Additionally, you can create folders, called “Media Categories” or “Media Tags,” to categorize your images further. These features help you maintain a well-structured media library, saving you time when searching for images in the future.
5. Optimizing Images for Web
Images that are not optimized for the web can significantly impact your website’s performance. Large image file sizes can slow down your site’s loading speed, leading to a poor user experience. To optimize your images, WordPress provides a feature called “Image Compression.” It automatically reduces the file size of your images without compromising their quality. Alternatively, you can use third-party plugins like “Smush” or “EWWW Image Optimizer” to optimize images in bulk.
Read Also: How to improve your website’s loading speed for better SEO?
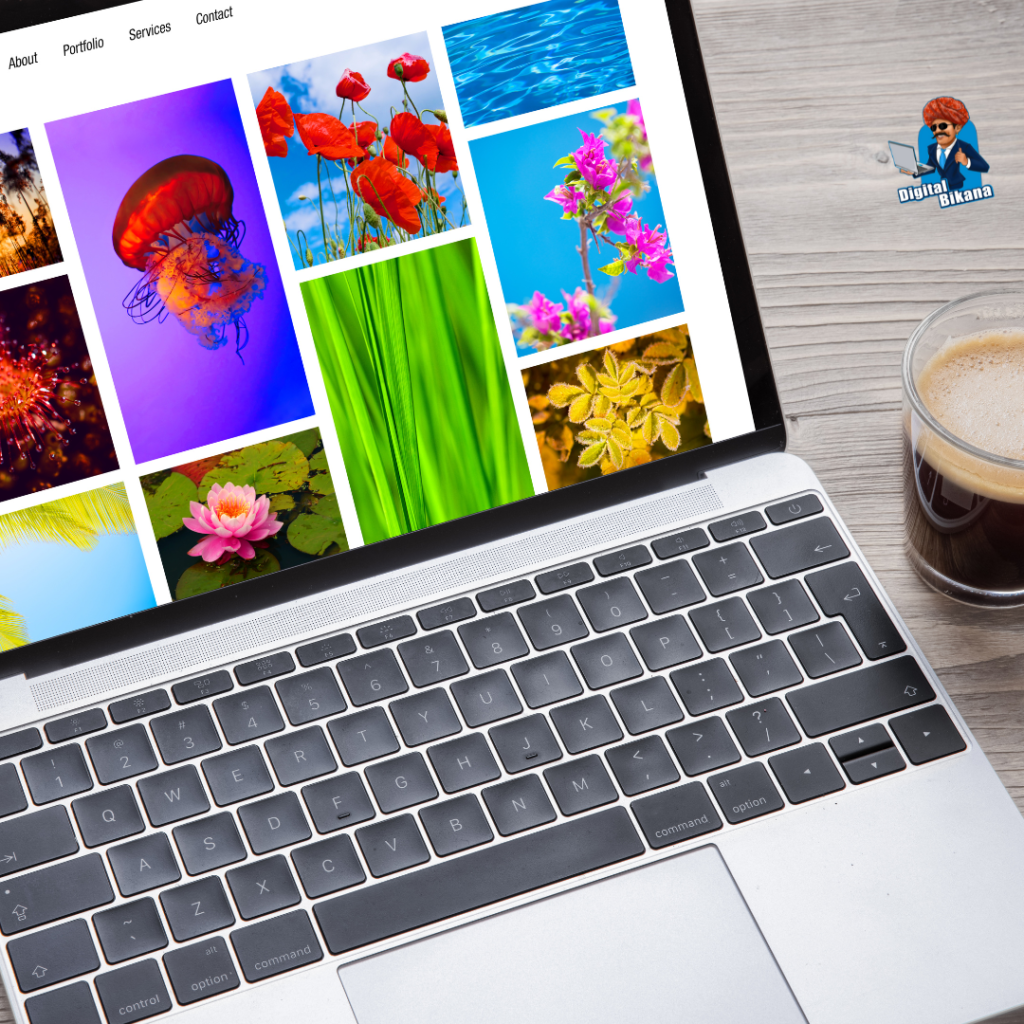
6. Displaying Images in Galleries
If you have multiple images that you want to showcase in an organized manner, WordPress offers built-in gallery functionality. When adding or editing a post or page, click on the “Add Media” button, select the images you want to include, and click on the “Create Gallery” option. You can arrange the images, set the number of columns, and choose between a thumbnail grid or a slideshow format. This feature allows you to create visually appealing galleries without any coding knowledge.
7. Using Featured Images
Another powerful feature in WordPress is the ability to set a featured image for each post or page. The featured image represents the content and is often displayed prominently, such as in a blog post’s header or on the homepage. To set a featured image, edit the post or page, locate the “Featured Image” panel on the right-hand side, and click on the “Set featured image” link. You can either select an image from your Media Library or upload a new one, then simply click on the “Set featured image” button.
Read Also: What is a Featured Image in WordPress and how can you set it for your posts?
9. Enhancing Images with Plugins
WordPress offers a vast repository of plugins that extend its functionality. Several plugins are specifically designed to enhance the image management experience. For example, the “Envira Gallery” plugin allows you to create stunning image galleries with advanced features. The “Regenerate Thumbnails” plugin helps you regenerate thumbnail sizes for existing images after changing your theme or thumbnail settings. Explore the plugin directory to find image-related plugins that suit your needs.
Conclusion:
WordPress provides a user-friendly interface for adding and managing images on your website. By following the steps outlined in this article, you can efficiently upload, insert, edit, organize, optimize, and display images in your WordPress posts and pages. Utilize the features offered by WordPress and consider using plugins to enhance your image management capabilities, ensuring that your website stands out visually and engages your audience effectively. So, Now I Hope you have understood about add and manage images in WordPress.
You can also checkout this website designing institute to learn digital marketing course by enrolling in our course Or Contact Digital Bikana on +91-8949483728